

Hey there everybody! I'm back with the 1st Post of the RESTful Django 💫 Series, in which we will be Building a FullStack Django + React.js CRUD Application. So let's get started with Building a Basic Django CRUD app first.
If you want to follow along with the code, clone this Github Repository to your workspace and you will be good to go!
Installation & Setup
We will be creating a Virtual Environment so that any of our project dependencies do not affect the one's we might have used for others, so lets get started with creating a Virtual Environment with Pipenv.
Open up a terminal/cmd in your Workspace Folder and type :
$ pip install --global pipenv
This will install pipenv and then we can go on with creating our virtual environment.
$ pipenv --python 3.8
This will create a new environment with python 3.8. Alright! Now it's time we step inside our Virtual Env. You can do this by typing :
$ pipenv shell
Now if everything went well you should see the name of the Workspace in front of your terminal.
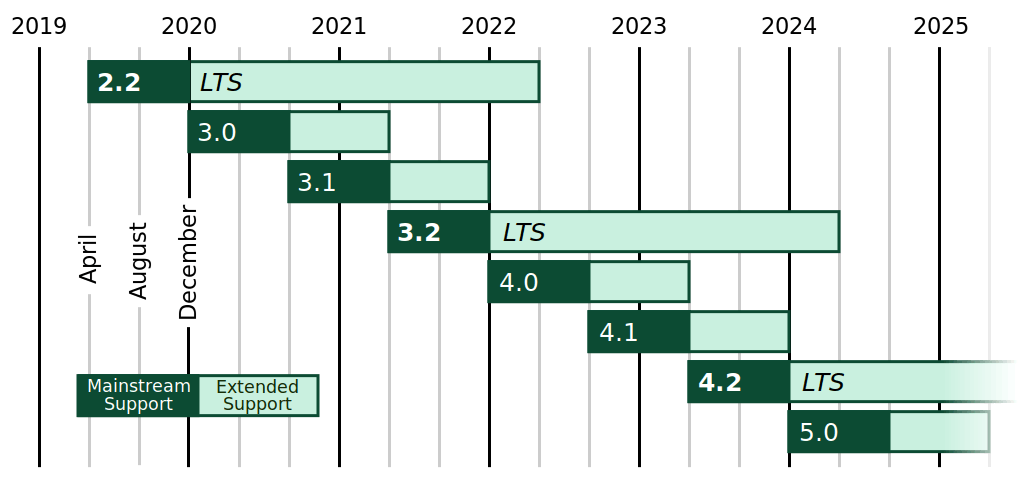
Okay! So now that we're done creating and setting up our Env. lets install Django. Now, for this tutorial and, pretty much for every every tutorial i will have for this year I'll be using Django 2.2 because it is an LTS version and looking at the Graph below about the official version support of Django, I guess you will understand the Why behind it.
Alright, back to our terminal, lets install it (Hope you're still in the VEnv)!
$ pip install Django==2.2
Now, to check if your installation went well, type in :
$ django-admin --version
And you should see 2.2 if everything went well.
Let's Create the Project
- Create the Project (while still in the V. Env) and step inside it :
$ django-admin startproject CRUD
$ cd CRUD
Now start the Development server by typing :
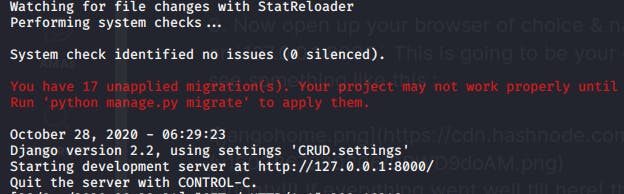
$ python manage.py runserverYou should see something like this in your terminal
Now open up your browser of choice & navigate over to
localhost:8000or127.0.0.1:8000This is going to be your development server. You should see something like this :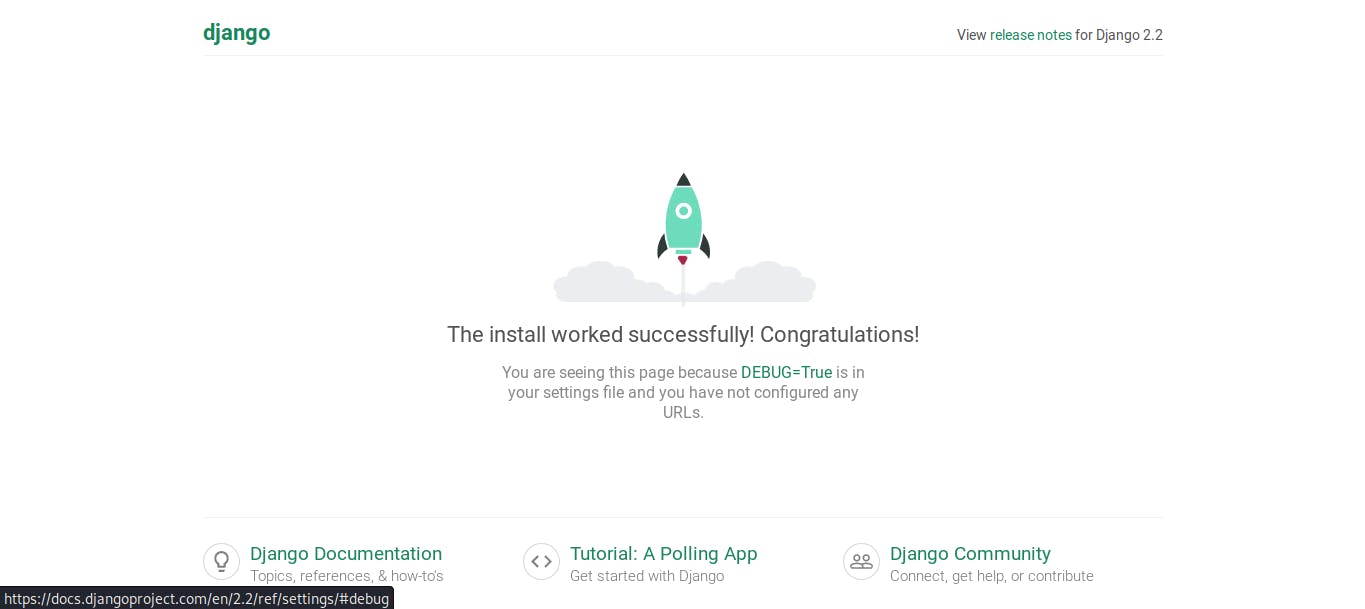
Alrighty!!! If everything went well till here! then we're ready to Jump into the Code!
Building The App
A Django project is a collection of several reusable Components called apps so for this project lets create our application.
- Switch over to your terminal and type :
$ python manage.py startapp Crud Now inside your main
CRUDfolder you will have aCRUDfolder which stores all the Project configurations and aCrudFolder which stores all the files off the App we just created.Go inside the
CRUDfolder and open up thesettings.pyfile in your desired text editor, and add the Allowed Hosts and Register ourCrudApp in the Installed Apps of the Project :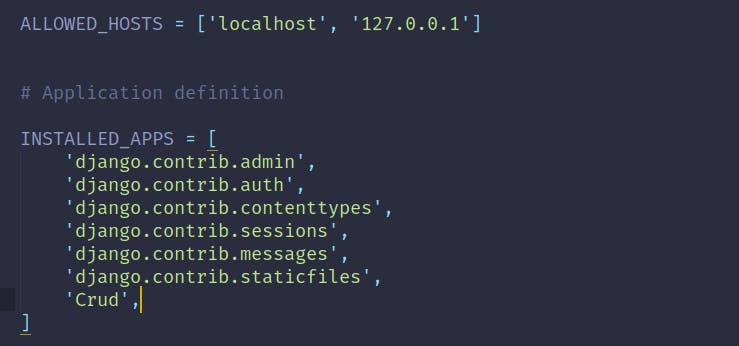
Database(Post) Model
We are creating a CRUD (Create, Read, Update, Delete) Application thus, we need to create a Database so that we can perform the CRUD functions on it. So Let's get started with Creating the Model (or the Structure) of how the Database should be laid out.
- Inside of our
CrudApplication open themodels.pyfile in your favorite text-editor and type the following (Don't worry, I'll explain everything right after that) :
from django.db import models
class Post(models.Model) :
    title = models.TextField(max_length =120, help_text='title of message.')
    message = models.TextField(help_text="Message Body")
    def __str__(self):
        return self.title
The Logic Behind It
Here first we are defining a Post class which will be responsible for creating and configuring the post database.. Inside of that Class, we define 2 entries, first is the title which, will be a text field and has a max limit of 120 characters (We don't want people writing paragraph long Title's isn't it 😉 )
After that, we define the message model, which too, is a text field but with no max limit.
Oh, and both of them have their respective help text.. which of course is self explanatory(Because that's what it's for 😂 ).
Making the Migrations
Now that our Model is ready, lets migrate it(create the database according to the Model). Run the Following commands to make the migrations :
$ python manage.py makemigrations
$ python manage.py migrate
Summon The Superuser
 It's time we create a Superuser with administrative powers! So that we can access the Django Admin Panel and manage our application easily from there.
- Run the following in your terminal :
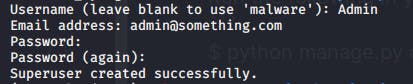
$ python manage.py createsuperuser Now you will be prompted to fill in the Username, E-mail & the password to access the admin dashboard like this :
Now that our SuperUser has been created successfully we can run the development server again and log in to the Django Admin Dashboard. Run the Development server with :
$ python manage.py runserverAfter that navigate to
http://localhost:8000/adminon your browser and you should see something similar as below: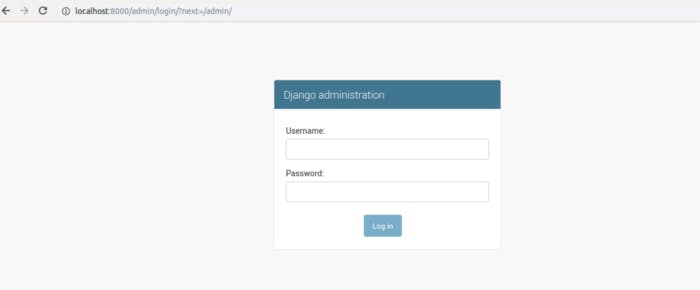
Now fill in your details click on the login button, Once you log in, you should see something similar to this :
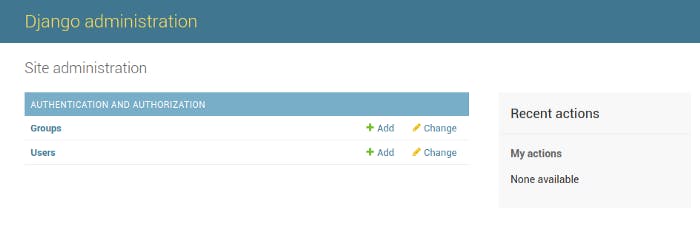
Now you will see that the Post Model that we migrated is not visible here, that is because we haven't yet registered it in the Admin. So let's do it!
Open theadmin.pyfile in a text editor and import the model and register it :from django.contrib import admin from .models import Post admin.site.register(Post)The Logic Behind It
Here, in the second line, we're importing our Post model from the models.
And in the third line, we useadmin.site.register()function to register it to the admin.Now Refresh the page again, and you will see that the Posts Model appear in a New Section. 🎉 Now you can easily add or remove Posts using this easy GUI.

Conclusion
On my next post, i will continue with adding URLs, Views, Templates as well as some finishing touches to the application. So make sure you stick around and follow the Series!
So this was it for now 🎉 I hope that you're loving the tutorials, Please do comment if there's anything you're not clear about or if you want to suggest something!